How to Make a Rice Heating Pad: A DIY Guide for Natural Pain Relief
Tired of aches and pains putting a damper on your day? Ready to ditch the pricey store-bought heating pads? We've got the perfect solution for you — a DIY rice heating pad. It's a simple, natural, and cost-effective way to soothe your sore muscles and joints right from the comfort of your home.
In this guide, we'll cover everything you need to know to create your very own heating pad, including:
-
What a rice heating pad is and the science behind its comforting warmth.
-
Why choosing a rice heating pad over other options can be a game-changer.
-
A step-by-step tutorial on crafting your own personalized heating pad.
-
Which materials (including types of rice and fabric) will give you the best results?
-
Alternatives to rice for those who want to explore other options.
-
The sock trick: Can you really just stuff rice in a sock? We'll find out.
Ready to embrace a life of cozy relief? Let's dive in.

What is a Rice Heating Pad and How It Works
A rice heating pad is more than just a sock filled with grains. It's a therapeutic tool that harnesses the power of heat to soothe your body's aches and pains. Essentially, it's a fabric pouch filled with uncooked rice, which you heat in the microwave. The rice grains absorb the heat and then slowly release it, providing gentle, consistent warmth.
But why rice? Well, rice has a unique ability to retain heat for extended periods. It's also dense enough to conform to your body's contours, making it the perfect filling for a DIY heating pad. So, whether you're dealing with muscle soreness, menstrual cramps, or simply seeking comfort on a chilly evening, a rice heating pad could be your new best friend.
Curious about the science behind it? When you heat the rice, the water molecules within the grains begin to vibrate. These vibrations generate heat, which is then transferred to your body through the fabric of the heating pad. This warmth increases blood flow to the area, promoting relaxation and easing muscle tension. It's like a mini sauna session for your sore spots.
The Benefits of a DIY Rice Heating Pad
Before we talk about the DIY process, let's explore why you should ditch the drugstore and craft your own heating pad. It's more than just a fun craft project; it's a wellness upgrade that's good for your body, your wallet, and the planet.
Natural Warmth, Naturally Better
Unlike some store-bought heating pads filled with synthetic materials or questionable gels, a rice heating pad is 100% natural. You're in control of what goes inside, ensuring a pure and toxin-free source of warmth for your body.
Tailored to You
Who said heating pads have to be boring rectangles? Get creative with your DIY pad. Customize the size, shape, fabric, and even add calming essential oils to create a truly personalized experience.
Save Money & Mother Earth
Let's be honest, store-bought heating pads can be expensive. By crafting your own homemade heating pad, you're not only saving cash but also repurposing materials and reducing waste. It's a win-win for your wallet and the environment.
A Remedy for All Your Aches
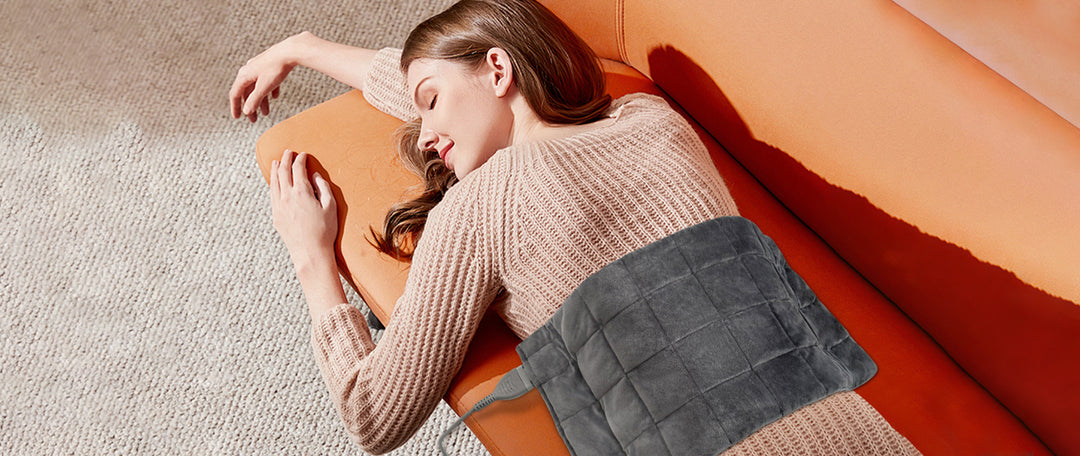
Sore muscles? Menstrual cramps? Stiff neck? A rice microwavable heating pad is your versatile companion for all sorts of discomforts. Its soothing warmth promotes relaxation, eases tension, and improves blood flow, offering natural relief when you need it most.
Built to Last
Ditch the disposable mindset. Your DIY rice heating pad is a long-term investment in your well-being. With proper care, it can last for years, providing consistent comfort without the need for batteries or cords.
How do You Make a Rice Heating Pad: A Step-by-Step Guide
Get ready to unleash your inner DIY guru. Making a rice heating pad is surprisingly simple and requires just a few basic materials. Here's your step-by-step guide to creating a soothing haven for your aches and pains:
Materials You'll Need
-
Uncooked White Rice: Aim for 2-4 cups, depending on the desired size of your heating pad. Long grain white rice is a good choice, but you can experiment with other types for different scents and textures.
-
Fabric: Choose a natural, breathable fabric like cotton or flannel. Avoid synthetic fabrics that might melt or give off unpleasant odors when heated.
-
Needle and Thread (or Sewing Machine): You'll need these to stitch up your heating pad. If you're not a sewing whiz, don't worry – a basic running stitch will do the trick.
-
Optional Extras:
-
Essential Oils: Add a few drops of your favorite essential oils like lavender, chamomile, or peppermint for an aromatherapy boost.
-
Dried Herbs: Lavender buds, rosemary, or other dried herbs can enhance the scent and add to the therapeutic effect.
-
Funnel or just a piece of paper: This will make filling your heating pad a breeze.
-

Instructions
-
Cut Your Fabric: Decide on the size and shape of your heating pad. A square or rectangle is the easiest option, but feel free to get creative with other shapes like hearts, stars, or even animals. Cut two pieces of fabric to your desired dimensions, leaving a seam allowance of about half an inch.
-
Sew (or Stitch) the Sides: Place the two fabric pieces together, right sides facing in. Sew or stitch around three sides, leaving one side open for filling.
-
Fill with Rice (and Extras): Turn your pouch right side out. Using a funnel, fill it with rice until it's about two-thirds full. This will allow the rice to retain heat effectively and conform to your body when heated. If you're adding essential oils or herbs, sprinkle them in now for a touch of personalization and aromatherapy.
-
Seal the Opening: Sew or stitch the remaining open side shut, ensuring the rice is securely enclosed.
-
Heat & Enjoy: Place your rice heating pad in the microwave for 1-2 minutes, checking it every 30 seconds to avoid overheating. Apply it to the desired area and let the soothing warmth work its magic. Remember to let it cool completely before reheating.
In just a few simple steps, you've crafted your very own rice heating pad, a cost-effective and natural solution for pain relief. But the benefits go beyond immediate comfort.
Storage Tips
Here are some tips to extend the life of your heating pad and maximize its therapeutic value:
-
Store it right: Keep your rice heating pad in an airtight container to prevent dust and moisture buildup. This will also help preserve any essential oils you add.
-
Refresh the scent: Over time, the essential oils may lose their potency. Add a few more drops every few months to revive the aroma and therapeutic benefits.
-
Adjust the temperature: Everyone has a different heat tolerance. Start with short heating intervals (30 seconds) and gradually increase the time until you reach the desired warmth.
-
Target specific areas: Depending on your needs, you can fold or mold the heating pad to target sore muscles, a stiff neck, or cramps.
-
Don't overheat: It's tempting to blast the heating pad for extended periods, but resist. Overheating can damage the rice and potentially burn your skin.
-
Take breaks: Apply the heating pad for 20-30 minute intervals, followed by a break to allow your skin to breathe. Repeat as needed.
-
Clean occasionally: Spot clean your heating pad with a damp cloth and mild soap when needed. Let it air dry completely before reheating. By following these simple tips, your DIY rice heating pad will be a source of comfort and relief for years to come.
Choosing Your Ingredients: Rice and Fabric Matters
Not all rice is the same when it comes to crafting a heating pad. Here's what you need to consider:
Type of Rice:
Long-grain white rice is the most common choice due to its ability to retain heat and its neutral scent. However, you can experiment with other options:
- Brown Rice: Offers a slightly earthier aroma and may hold heat slightly longer.
- Basmati or Jasmine Rice: These fragrant varieties add a pleasant scent to your heating pad.
- Wild Rice: Known for its nutty aroma and firm texture.
Pro Tip: If you're sensitive to scents, stick with plain white rice. If you're feeling adventurous, try mixing different types of rice for a unique sensory experience.

Source: https://www.simplyrecipes.com/your-guide-to-rice-varieties-5209601
Fabric: The Comfort Factor
Choosing the right fabric is key to creating a cozy and effective heating pad. Here's what to look for:
-
Natural Fibers: Cotton, flannel, or linen are all excellent choices. They're breathable, allowing the heat to penetrate while preventing moisture buildup.
-
Tight Weave: A tightly woven fabric ensures that the rice grains won't leak out and cause a mess.
-
Durability: Opt for a fabric that can withstand repeated heating and washing.
Pro Tip: If you're using a patterned fabric, make sure the colors won't bleed when heated. Test a small scrap in the microwave before committing to a larger piece.

Source: https://www.hawthornintl.com/fabric-guide
Rice Is Nice, But What About Other Options?
While rice is a fantastic natural filling for a DIY heating pad, it's not the only option out there. If you're looking to explore alternatives, consider these popular choices:
Other Natural Fillings
If you're not keen on rice, you can explore other natural materials for your DIY heating pad:
-
Corn: Similar to rice, corn kernels retain heat well and offer a subtle, sweet aroma.
-
Cherry Pits: These small pits provide a gentle, consistent heat and a pleasant, fruity scent.
-
Flax Seeds: Known for their high oil content, flax seeds offer a moist heat that can be particularly soothing for muscle aches.
-
Beans or Lentils: These legumes are a budget-friendly option and retain heat well. However, they may be slightly bulkier than rice.
Experiment with different combinations of natural fillings to create a custom blend that suits your preferences and needs.

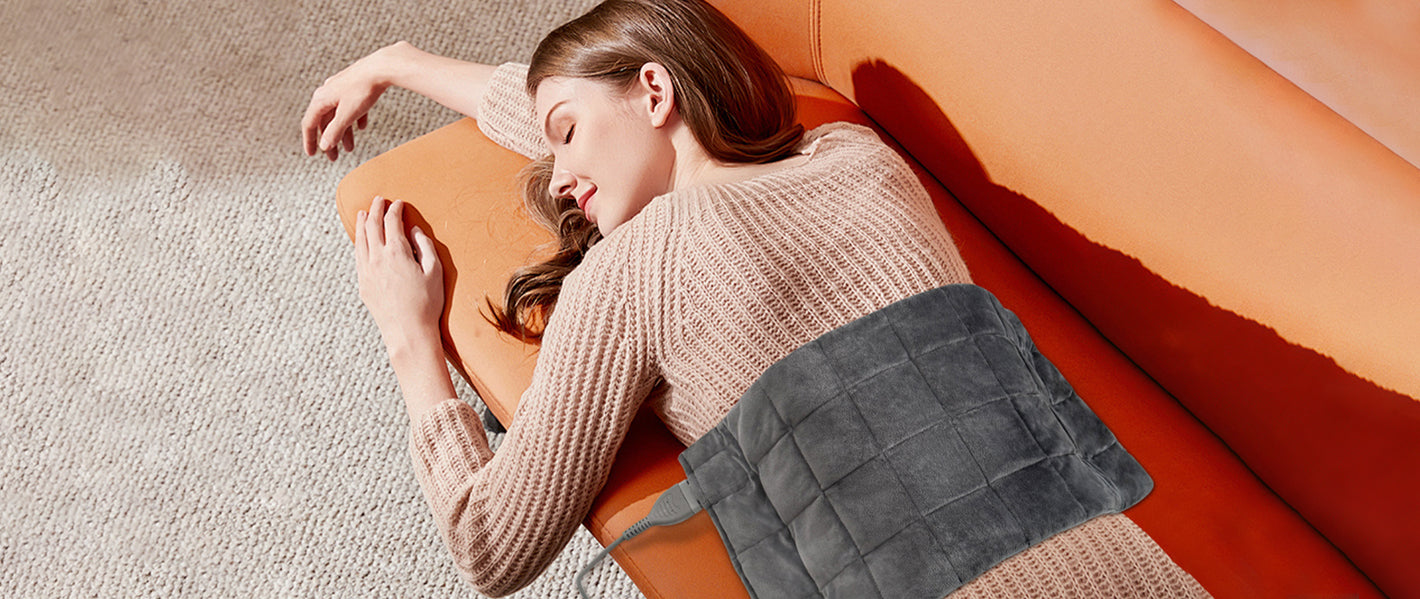
Electric Heating Pads: The Modern Classic
Electric heating pads have been a household staple for decades, and for good reason. They offer several advantages:
-
Precise Temperature Control: Most electric heating pads allow you to adjust the heat level, ensuring a comfortable and safe experience.
-
Consistent Heat: Unlike rice bags, which gradually cool down, electric pads maintain a consistent temperature throughout your session.
-
Variety of Sizes & Shapes: Electric heating pads come in various sizes and shapes, from small ones for targeted relief to larger ones that cover your entire back.
-
Additional Features: Some models offer features like auto-shutoff, moist heat settings, and even massage functions.
When choosing an electric heating pad, look for one with an automatic shut-off feature to prevent overheating and potential burns.

The Sock Trick: Can Rice in a Sock Really Work?
We've all heard the tales of using a sock filled with rice as a makeshift heating pad. But does this simple hack actually work? The answer is yes... and no.

The Good News
Yes, you can heat rice in a sock in the microwave. It will get warm, and it can provide some temporary relief. It's a quick and easy solution when you're in a pinch and don't have a proper heating rice bag on hand.
The Not-So-Good News
While the sock trick can work in a pinch, it's not the most effective or safest option. Here's why:
-
Uneven Heating: The rice may not heat evenly in a sock, leading to hot spots that could potentially burn your skin.
-
Mess Potential: If the sock isn't securely tied, you risk spilling rice all over your microwave (not fun).
-
Limited Lifespan: Socks aren't designed for repeated heating and cooling, so your makeshift heating pad may not last very long.
-
No Aromatherapy Benefits: You'll miss out on the added benefits of essential oils or herbs that a proper heating pad can offer.
If you're looking for a quick fix, the sock trick can do the job. But if you want a reliable, safe, and long-lasting heating pad, we recommend investing a little time and effort into making a proper one. Trust us, your muscles will thank you.
Go Beyond the Basics: The DIY Difference
Crafting your own rice reusable heating pad is a rewarding experience that goes beyond simply filling a sock with rice. It allows you to customize every aspect, from the size and shape to the scent and therapeutic benefits. So, skip the sock and embrace the joy of DIY. Your body will thank you for the extra care and attention.
Wrapping Up
You're now equipped with the knowledge and skills to create your very own rice heating pad. It's a simple yet powerful tool that can transform your self-care routine and provide soothing relief whenever you need it.
Here's a quick recap of what we covered:
-
The science behind how homemade heating pads work.
-
The many benefits of choosing a DIY pad over store-bought options.
-
Step-by-step instructions for crafting your personalized heating pad.
-
Tips for choosing the best rice and fabric for optimal results.
-
Alternative filling options to explore beyond rice.
-
The truth about the sock trick (and why you should go beyond it).
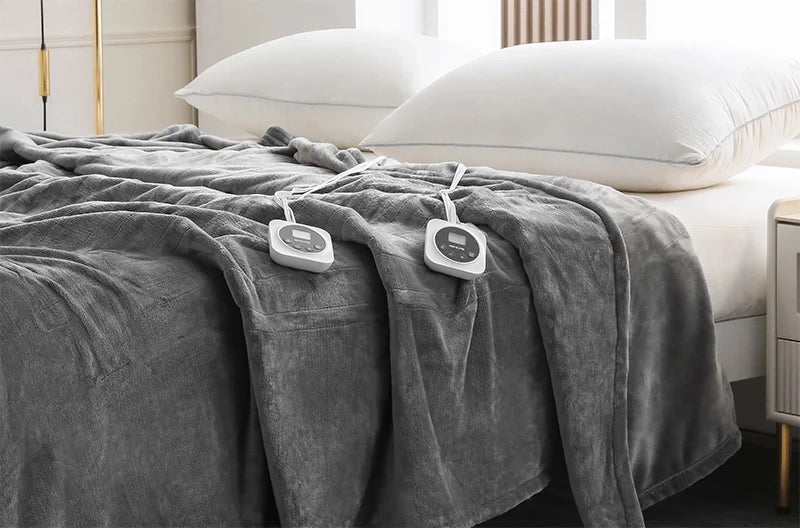
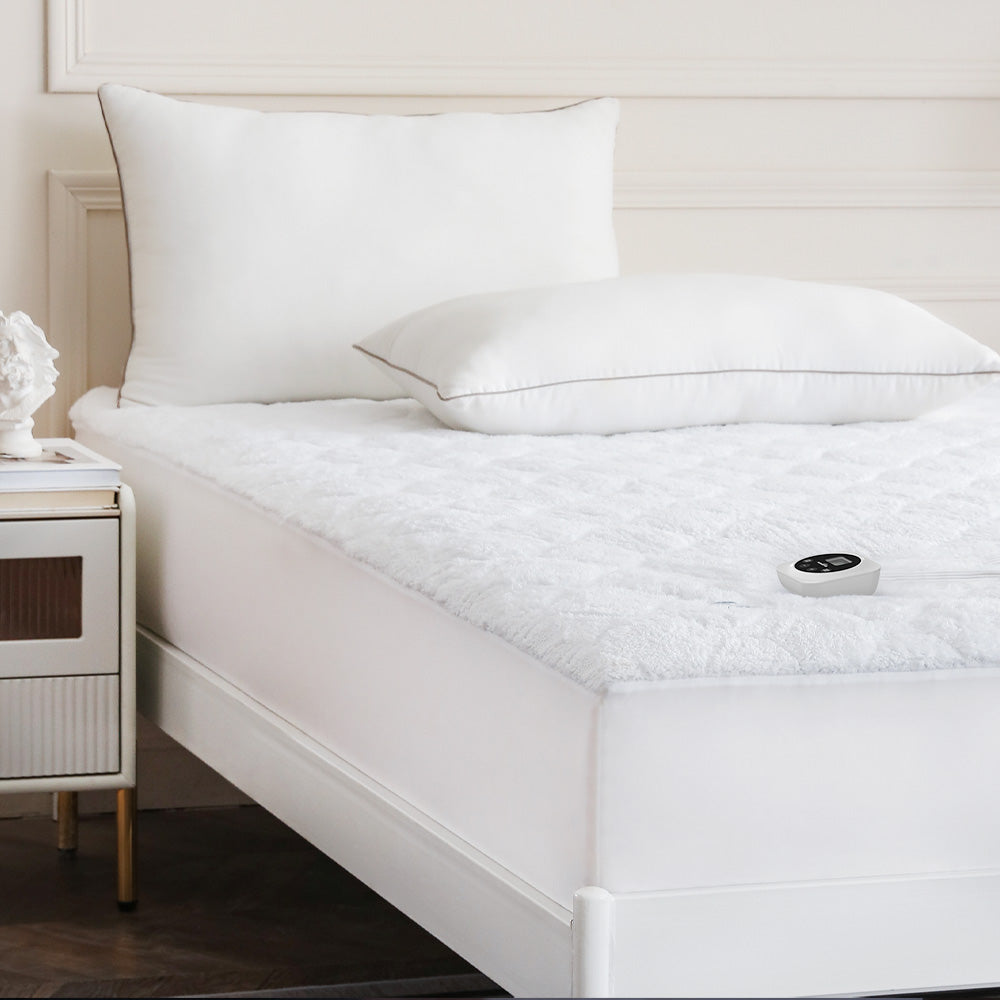
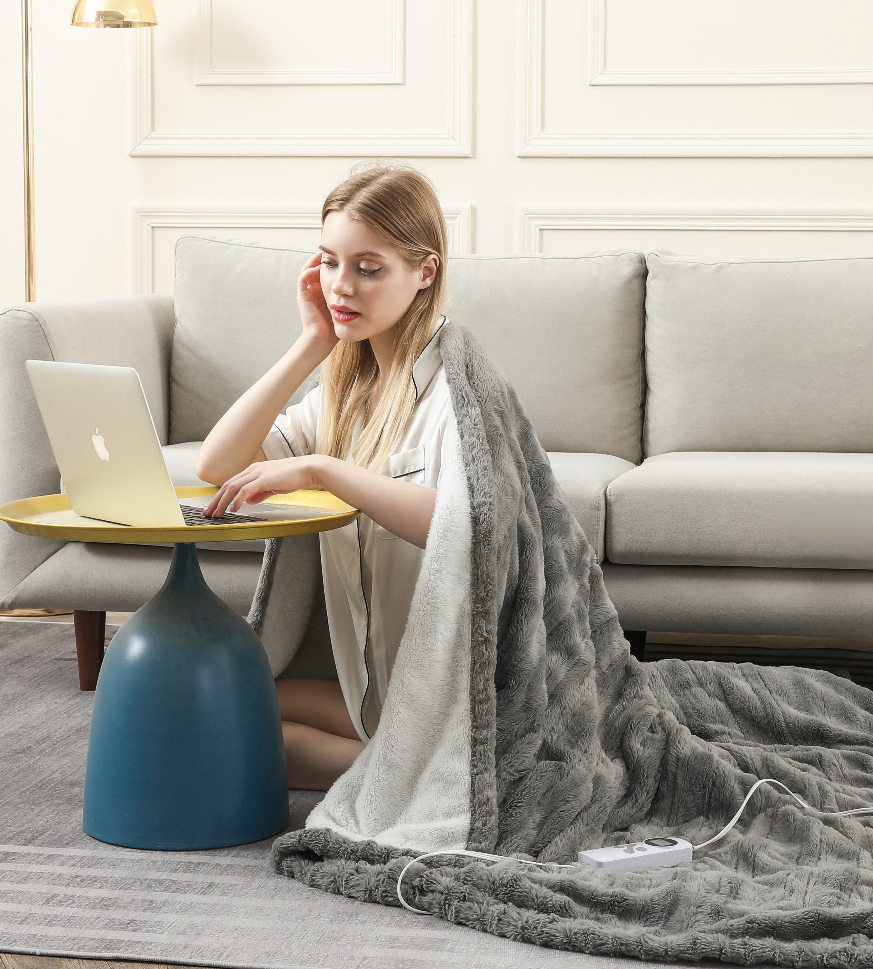
At Homlyns, we believe that warmth is essential for relaxation and rejuvenation. While a DIY rice heating pad is a great start, our high-quality, heated home and bedding products take comfort to the next level. From heated blankets to plush throws, we offer a range of cozy solutions to help you unwind and de-stress. So, snuggle up with Homlyns and experience the ultimate in warmth and relaxation.
💬 FAQs
Q1: Are microwavable heating pads safe?
A: Absolutely. Rice heating pads, when used correctly, are a safe and natural way to soothe aches and pains. Just be sure to follow the heating instructions carefully to avoid overheating and potential burns. If you have any concerns, consult with your doctor before using a heating pad.
Q2: Can microwave heating pads cause cancer?
A: There is no scientific evidence linking microwave heating pads to cancer. Unlike X-rays or UV radiation, the microwaves used to heat your rice pad are non-ionizing, meaning they don't damage your DNA. Rest assured, you can enjoy the cozy warmth without any worries.
Q3: How long should I microwave a rice heating pad?
A: Start with short intervals of 30 seconds to 1 minute, checking the temperature frequently. Gradually increase the time until the pad reaches a comfortable warmth. Remember, the goal is soothing warmth, not scorching heat.
Q4: How can I heat a rice heating pad without a microwave?
A: No microwave? No problem. You can heat your rice pad in a conventional oven. Preheat the oven to 250°F (120°C) and place the pad on a baking sheet. Heat for 10-15 minutes, flipping it halfway through. You can also use a slow cooker on low heat for a few hours.
Q5: How do rice heating pads work?
A: The magic lies in the rice grains' ability to absorb and retain heat. When you microwave the pad, the water molecules inside the rice grains vibrate, generating heat that's then transferred to your body through the fabric. This gentle warmth promotes relaxation, eases muscle tension, and increases blood flow to the area.
Q6: How do I clean a rice heating pad?
A: Spot cleaning is usually sufficient. If your pad gets dirty, simply wipe it with a damp cloth and mild soap. Allow it to air dry completely before using it again. If your pad has a removable cover, you can toss it in the washing machine according to the care instructions.
Q7: Corn vs. Flaxseed vs. Rice: Which is the best filling for a heating pad?
A: Each filling has its own unique properties and benefits:
- Rice: Affordable, readily available, and retains heat well. A classic choice for DIY heating pads.
- Corn: Offers a similar experience to rice with a slightly sweeter aroma.
- Flaxseed: Provides a moist heat that some people find particularly soothing. It also has a slightly heavier feel compared to rice or corn.
The best choice ultimately depends on your personal preference. Experiment with different fillings to see which one you like best.
Reference:
- Ren H, Bao J, Gao Z, Sun D, Zheng S, Bai J. How rice adapts to high temperatures. Front Plant Sci. 2023;14:1137923. Published 2023 Mar 17. doi:10.3389/fpls.2023.1137923
*Some Graphic source network, copyright belongs to the original author, if there is infringement to inform the remedy.




Leave a comment