


How to Make Homemade Scented Candles in 6 Easy Steps
You don’t need any special skills or a lot of time to make beautiful candles at home. With just a little effort, you can craft fragrant candles that look amazing and feel truly special, whether you give them as gifts or keep them for yourself.
Homemade candles make perfect housewarming gifts. They’re practical enough for daily use and add a warm, personal touch to a new home. Let’s dive into this fun, quick DIY project right now!

What You'll Need
Wax comes in different types. Each type melts at a different temperature and holds scent in different ways. Check out this quick comparison to help you choose the perfect wax for your candles.
|
Wax Type
|
Temperature
|
Fragrance Retention
|
|
|
Melting
|
Cooling
|
||
|
Soft Soy Wax
|
55-60℃
|
25-30℃
|
Moderate
|
|
Hard Soy Wax
|
60-65℃
|
28-32℃
|
Longer
|
|
Natural Beeswax
|
70-75℃
|
30-35℃
|
Very long
|
|
Coconut Wax
|
62-68℃
|
26-31℃
|
Very long
|
|
No.58 Paraffin Wax
|
65-70℃
|
28-30℃
|
Moderate
|
|
No.62 Paraffin Wax
|
70-75℃
|
30-32℃
|
Moderate to longer
|
👋 For beginners: Soft soy wax is perfect for candle-making beginners. If you want your candle’s scent to last longer, use natural beeswax or hard soy wax instead.

Source: Instagram @ jujuscandles
Other materials needed:
-
Wicks and wick stickers
-
Candle dye
-
Liquid fragrance oil
-
Small heat-safe pot
-
Saucepan
-
Wooden stir stick
-
Clothespins
-
Scissors
- Candle jars

Step-by-Step Guide
Follow these simple steps, and you’ll make your own scented candles easily and perfectly.
Source: Youtube @ BlackTieBarn
Step 1: Prepare Jars and Wicks
Stick a wick sticker on the bottom of a wick, then press it firmly in the center of the jar’s inside. Cut the wick so it sticks out 2 to 3 inches above the jar’s top. Lay a clothespin across the jar’s top edge, and wrap the wick around it to keep it in the middle.

Step 2: Melt the Wax
Pour 2 to 3 inches of water into the saucepan and heat it until it simmers gently. Don’t let the water boil. Place a heat-safe pot inside the saucepan to make a double boiler, then add your wax flakes.
Stir the wax every so often with a wooden stick until it melts completely. Take the pot off the heat right after the wax is fully melted.

Step 3: Mix in Dye and Fragrance Oil
Add the candle dye first and stir it slowly and thoroughly for one minute. Keep stirring until the dye mixes in fully and the wax has a smooth, even color all over.
Then add the fragrance oil and stir the wax gently for 30 seconds. Make sure the oil blends in completely and there are no lumps left.

Step 4: Pour the Wax into Jars
Carefully pour the colored, scented wax into the jars you prepared earlier. Fill each jar up to 0.5 inches from the top. This keeps the wax from spilling when it cools and shrinks.

Step 5: Let the Candles Cool and Harden
Set the filled jars in a cool spot where they won’t be moved. Keep them away from wind and direct sunlight. Let the candles cool for 24 to 48 hours, and don’t touch, or bump the jars while the wax hardens.

Step 6: Cut the Wick and Enjoy
Once the wax is fully cool, cut the wick with scissors to only 0.6 centimeters above the wax surface. This short length keeps the candle from making too much smoke, and it also prevents uneven burning.

⚠️ Important Safety Tips
-
Always melt wax in a double boiler. Never heat it directly on the stove, because it could catch fire.
-
Keep melting wax and burning candles far from flammable things like curtains, paper and fabric.
-
Never leave a burning candle unattended. Also, keep candles out of reach of kids and pets.
-
Set candles on heat-resistant surfaces while they cool. Don’t touch hot wax or pots, or you could get burned.
-
If wax spills, let it cool completely first before scraping it off. Never pour water on hot wax.
The Benefits of Aromatherapy Candles
Homemade scented candles are more than just nice decor. They also help you relax and sleep better, and you can amplify this effect with simple pairings.

-
Candlelight Calm: Soft candlelight fills the room with a peaceful feeling, easing your mind and body after a busy day.
-
Gentle Scents for Relief: Mild aromas take away tension and calm worried thoughts, helping you sleep more soundly. Lavender, vanilla, and chamomile are the best scents for better sleep, as their soothing properties are widely recognized.
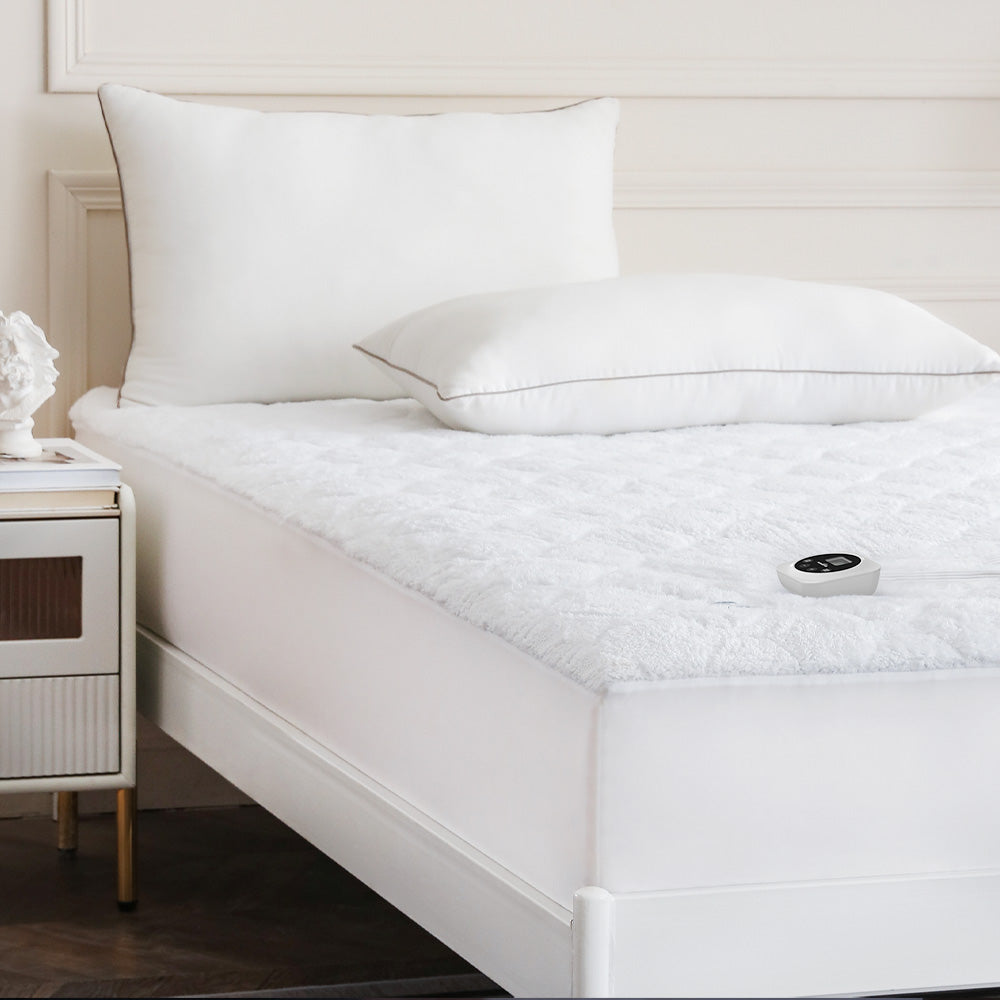
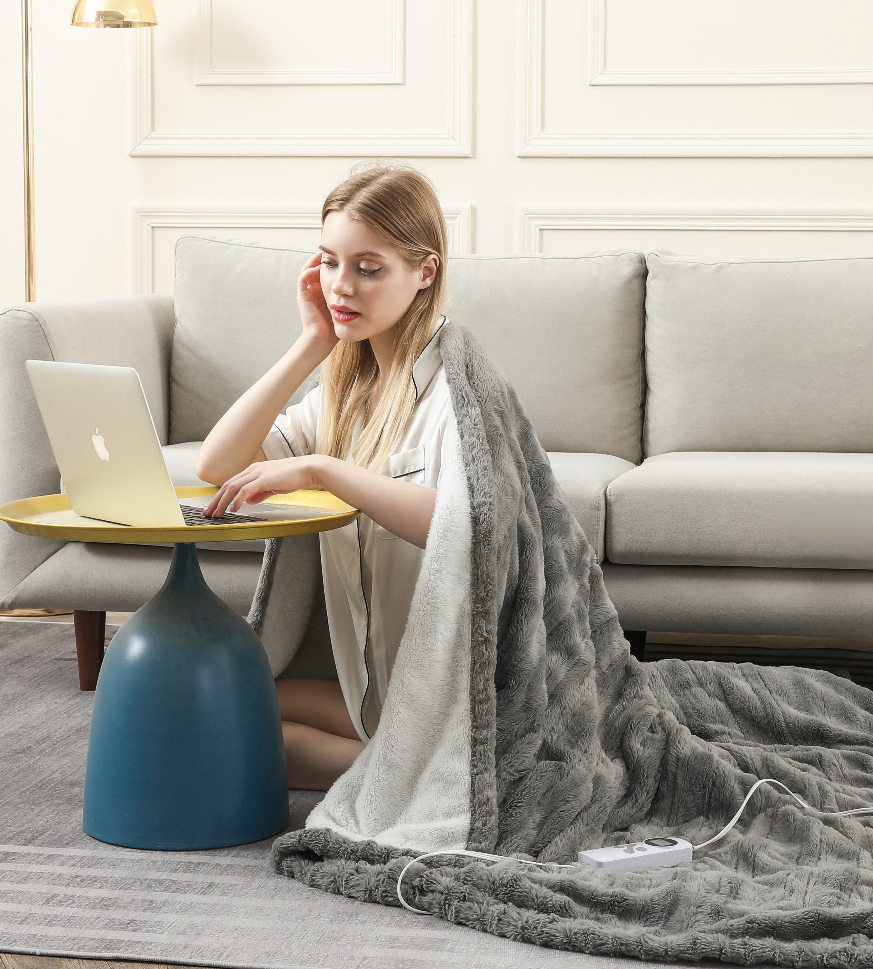
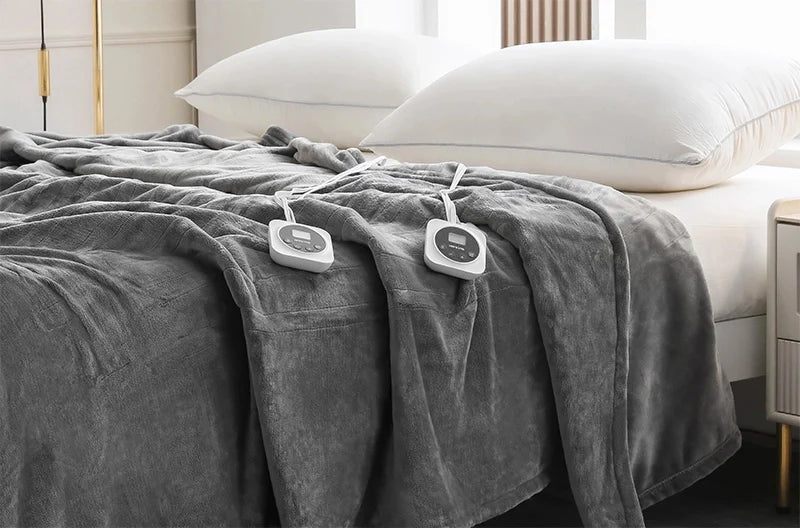
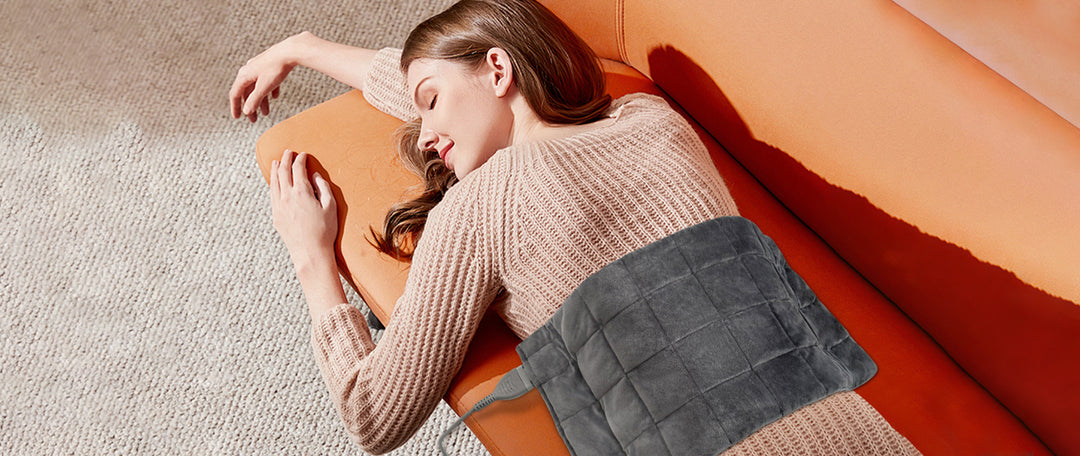
-
Cozy Aroma Combo: Pair your candle with an electric heated blanket for the ultimate bedtime relaxation. Warmth, gentle light, and a pleasant scent work together to create the perfect restful space.

You can also pair these candles with other cozy sleep hacks, such as pre-warmed bedding and calming breathing techniques to beat sleepless winter nights for an even more restorative routine.
Conclusion
You can make beautiful candles at home with just a few basic supplies and six simple steps. Once you get the hang of the basic steps, try different scents and colors to fit your home decor or what the gift receiver likes. Sit back and enjoy the soft light and nice smell of the candles you made with your own hands!


Leave a comment